 Waymark Nordic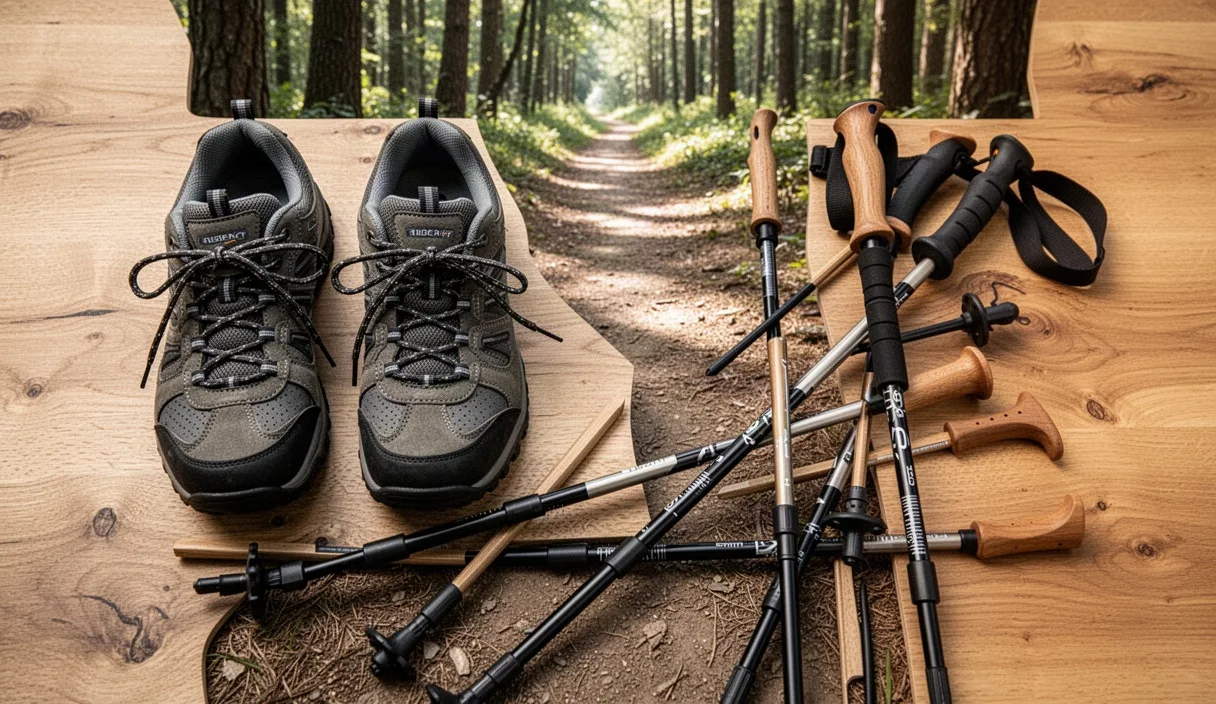
Walking is one of the most reliable ways to maintain joint mobility, yet hip stiffness and aching knees often turn a daily loop around the neighborhood into an endurance test. When cartilage thins or inflammation flares, every footstrike sends shockwaves directly up the kinetic chain. The natural instinct is to walk less, but resting too much starves the joints of the synovial fluid they need to glide smoothly.
Nordic walking solves this puzzle by turning a lower-body task into a four-limbed movement. By distributing weight through specialized poles and engaging the upper back, shoulders, and core, you can keep your cardiovascular system active while removing a measurable portion of the mechanical toll on your lower body. It is practical engineering applied to the human skeleton, and it works without requiring you to learn complicated gym routines.
How Poles Unload Ankle and Knee Joints
When you walk normally, each heel strike generates a ground reaction force equal to roughly one to one-and-a-half times your total body weight. If your knee or hip joint is irritated, that repeated impact creates cumulative friction. Nordic walking poles intercept that load before it settles into your lower limbs. As the rubber tip or steel spike strikes the pavement behind you, your latissimus dorsi, triceps, and pectoral muscles take on a portion of the downward pressure.
Research across sports science laboratories shows that using poles with an active push-off reduces the load on the knees and ankles by roughly 12% to 17% per stride. Over a 40-minute walk, that small reduction per step adds up to several metric tons of pressure diverted away from the patella and the hip socket. The upper body acts like an auxiliary suspension system, absorbing ground reaction forces that would otherwise compress the joints.
The table below illustrates how different walking styles redistribute typical forces during an average 30-minute session on flat asphalt for an individual weighing 75 kilograms.
| Walking Style | Estimated Knee Load per Step | Upper Body Muscle Engagement | Average Cadence (Steps per Minute) |
|---|---|---|---|
| Standard Walking | 95 to 115 kg | Minimal (less than 8%) | 100 to 110 |
| Trekking (Passive Poles) | 88 to 102 kg | Moderate (roughly 14%) | 95 to 105 |
| Nordic Walking (Active Plant) | 78 to 92 kg | High (between 28% and 34%) | 105 to 115 |
To achieve this relief, the plant angle matters. Passive trekking poles are held vertically in front of the body, which can inadvertently jar the wrists and shoulders. Nordic poles angle backward at roughly 45 to 60 degrees. This backward angle transfers force into propulsion rather than a sudden braking shock, letting your knee flex through a natural, low-stress arc.
Adjusting Stride Length to Prevent Strain
A common error among walkers trying to move faster is overstriding, which occurs when the leading foot reaches out too far and strikes the pavement well ahead of the hips. When the heel contacts the ground with a straight, locked knee, the joint absorbs the entire braking force. For someone with cartilage wear behind the kneecap or within the hip joint, overstriding turns every step into a direct jolt against bone.
The key to joint protection is shortening the stride and increasing the cadence. Aim for your heel to make contact only slightly ahead of your center of mass, with a soft, unlocked knee. The trailing leg, rather than the leading leg, should provide the propulsion by pushing gently off the toes as the opposite pole finishes its stroke.
Use these mechanical cues to dial in a joint-friendly stride:
- Keep the front knee softly flexed: Never lock the joint at initial contact. Think of your legs as coil springs rather than rigid wooden pegs.
- Plant the pole opposite the heel: As your left heel touches down, the right pole tip should strike the ground level with your left instep, maintaining balance and forward momentum.
- Roll through the entire foot: Touch the heel down lightly, roll forward through the outer edge of the midfoot, and finish with a quiet push from the big toe.
- Rely on arm swing for speed: If you want to increase your walking pace, swing your arms faster from the shoulder joint. Your feet will naturally match your cadence without stretching your stride too long.
Shortening your stride might feel counterintuitive if you are used to power walking, but it immediately drops shear stress across the patellofemoral joint. A shorter step also limits deep extension in the hip, which spares the anterior hip capsule and prevents the lower back from arching excessively to compensate.
Handling Gentle Downhill Sections
Gentle downhill slopes are where knee and hip joints take their heaviest beating. As gravity pulls you forward, the quadriceps must contract while lengthening to slow you down. This eccentric contraction forces the patella tightly against the femur with up to three times your body weight per step. Hip joints experience a similar compressive squeeze as the pelvis tilts forward to maintain balance.
Nordic walking poles can act as reliable brakes on gentle declines, provided you alter your technique from the standard flat-ground push. Instead of angling the poles backward behind your torso, bring the tips forward to plant them slightly ahead of or alongside your feet. This shifts the braking workload into your triceps, chest, and lat muscles, sparing your quads.
Adjusting Your Stance for Gentle Slopes
Begin by reducing your stride length by roughly one third compared to your flat-ground stride. Bend your knees noticeably, lowering your center of gravity by an inch or two. Keep your torso upright or leaned forward by just a few degrees from the ankles; leaning back might feel safer, but it actually causes your feet to slide out and drives impact straight through the hips.
Alternating the Pole Plant on Descents
When descending a modest gradient, you have two options for pole placement depending on your stability:
- Alternate planting: Continue the rhythmic diagonal stride, but plant each pole slightly ahead of the stance foot. Apply downward pressure through the wrist strap before your foot takes full weight.
- Double-pole braking: For steeper or uneven paths, bring both poles forward simultaneously, plant them securely with the tips angled slightly back toward you, and take two short, controlled steps past them before resetting.
Take care not to let the poles drift too far out in front of your body, as a wide plant can cause your shoulders to hunch and strain the rotator cuff. Keep the elbows relatively close to your ribcage to maintain leverage and control.
Footwear Support for Hard Surfaces
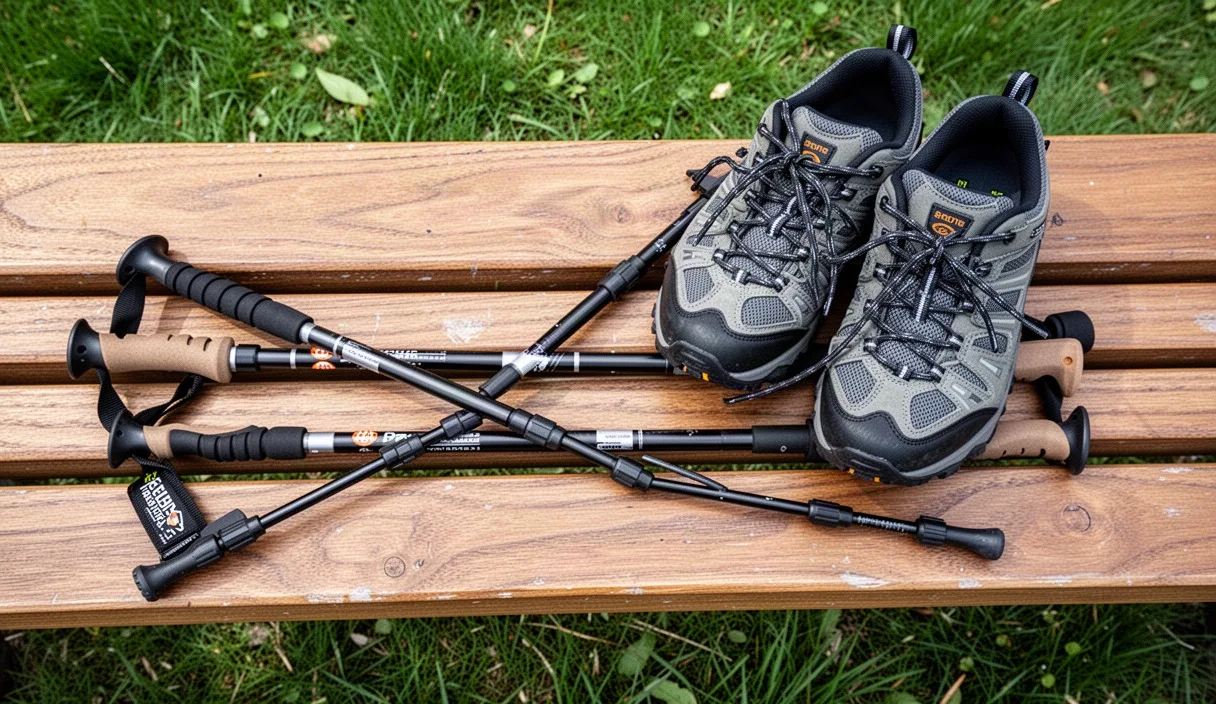
Poles handle the redistribution of weight, but your footwear dictates how your feet absorb whatever impact remains. Many walkers use rigid hiking boots or old running shoes that have long lost their internal cushioning. Walking on paved paths, packed asphalt, or firm crushed gravel requires a specific balance of cushion, flexibility, and heel geometry.
Look for shoes with a moderate stack height and a bevelled or rounded heel. A blocky, square heel acts as a lever arm that forces the foot to slap down rapidly onto the pavement, which tugs on the anterior shin muscles and jars the knee. A bevelled heel smooths out that initial transition, letting the foot roll forward cleanly.
Consider these footwear factors when walking primarily on paved surfaces:
- Rubber paws for the poles: Metal spikes belong on dirt, grass, and ice. On asphalt, always fit angled rubber paw tips to your poles. They absorb vibration that would otherwise travel into your elbows and shoulders, and they provide traction on dry tarmac.
- Torsional stiffness: Grab the shoe by the heel and toe, then twist it gently. It should resist excessive twisting while still bending easily at the ball of the foot. Shoes that twist like a wet washcloth force your ankles and knees to work overtime to stabilize your gait.
- Heel-to-toe drop: A moderate drop between 6 and 10 millimeters tends to relieve strain on the Achilles tendon and calf complex without pitching the hips forward. Zero-drop shoes can work well for some, but they demand significant calf mobility and can increase load on the lower leg if introduced too quickly.
- Spacious toe box: Your toes splay outward under load. If they are cramped together by a narrow forefoot, you lose the natural stabilizing arch of the foot, which forces the knee to collapse slightly inward with each step.
Replace walking shoes every 500 to 700 kilometers. The midsoles often lose their elastic shock-absorbing qualities well before the rubber tread shows serious physical wear.
Knowing When to Rest
Movement promotes cartilage repair by circulating nutrient-rich synovial fluid, but inflamed tissues have clear limits. Nordic walking makes moving feel easier, which occasionally tempts walkers to stay out longer than their joints can actually handle. When the upper body fatigues, form deteriorates, poles stop receiving firm pressure, and the lower joints suddenly take on the full load again.
Learn to differentiate between productive, mild exertion and pain that signals tissue distress. Muscle fatigue in the triceps or upper back is normal and expected as you build conditioning. Sharp, hot, or localized pain in the hip groin area, inside the knee joint line, or behind the kneecap is a signal that your connective tissues need recovery.
A sensible guideline is the 24-hour response rule. If joint discomfort increases noticeably during your walk, or if joint stiffness the following morning feels markedly worse than usual, you walked too far, too fast, or with improper form. Scale back the duration of your next session by 20% to 30% and monitor how your joints respond.
Intersperse walking days with active recovery. Gentle swimming, stationary cycling with low resistance, or light mobility routines allow the joints to move without any impact at all. If you experience persistent swelling, joint locking, or pain that does not settle down after two days of rest, consult a physiotherapist or orthopedic specialist before heading out with your poles again.
Common Mistakes to Avoid
Even with good intentions, minor technical flaws can compromise the joint-sparing benefits of Nordic walking. Watch out for these four frequent errors during your sessions:
- The death grip: Squeezing the pole grips tightly tires out your forearms and tenses the neck. Use the wrist straps properly; your hands should open slightly on the backward swing, letting the strap hold the pole while your palm relaxes.
- Carrying the poles like luggage: Letting the poles drag loosely along the ground without applying pressure does nothing for your knees. If you are not pressing down through the strap to propel yourself, the poles are just decorative metal sticks. Dogs may find them fascinating, but your knees will gain nothing from the walk.
- Overly long poles: If your poles are adjusted too high, your shoulders will sit in a shrugged, defensive position. This strains the upper trapezius and prevents an efficient push-off. Pole handles should sit roughly at the height of your navel or lower ribcage when the pole stands vertical.
- Ignoring asymmetrical limping: If one hip or knee hurts, do not push harder through the bad side to try to smooth things out. Instead, drive more firmly through the opposite pole and decrease your speed. If you cannot walk without an obvious limp, end the session early.
Practical Next Steps for Your Routine
Starting out does not require heroic distances. Consistency is far more beneficial for joint cartilage than an occasional long trek that leaves you stiff for a week. Establish a stable foundation before adding distance or incline.
- Set your pole height correctly: Multiply your height in centimeters by 0.68. For instance, a person who is 175 cm tall will set their poles to approximately 119 cm (rounded to 120 cm). When holding the grip with the tip resting on the floor, your elbow should form an angle close to 90 degrees.
- Begin on level ground: For your first three weeks, stick to flat, predictable terrain such as smooth park pathways, paved greenways, or firm athletic tracks. Avoid uneven roots, mud, or steep hills until your timing feels natural.
- Start with three short walks weekly: Aim for 20 to 25 minutes per session, every other day. This schedule gives cartilage, tendons, and newly recruited upper-body muscles 48 hours to adapt between walks.
- Perform a two-minute post-walk check: After every session, stretch your calves, hip flexors, and hamstrings gently. Note any unusual tightness around the patellar tendon or the outer hip.
- Progress by time, not speed: Once you can complete three 25-minute walks in a single week with zero post-walk joint flares, add five minutes to each session. Keep your cadence steady and resist the urge to turn the walk into a race.
Joint relief is built through small, repeated inputs. When you plant the poles firmly, roll smoothly through your feet, and allow your upper body to shoulder some of the burden, walking stops being a chore and returns to what it should be: steady, comfortable, pain-free forward motion.