 Waymark Nordic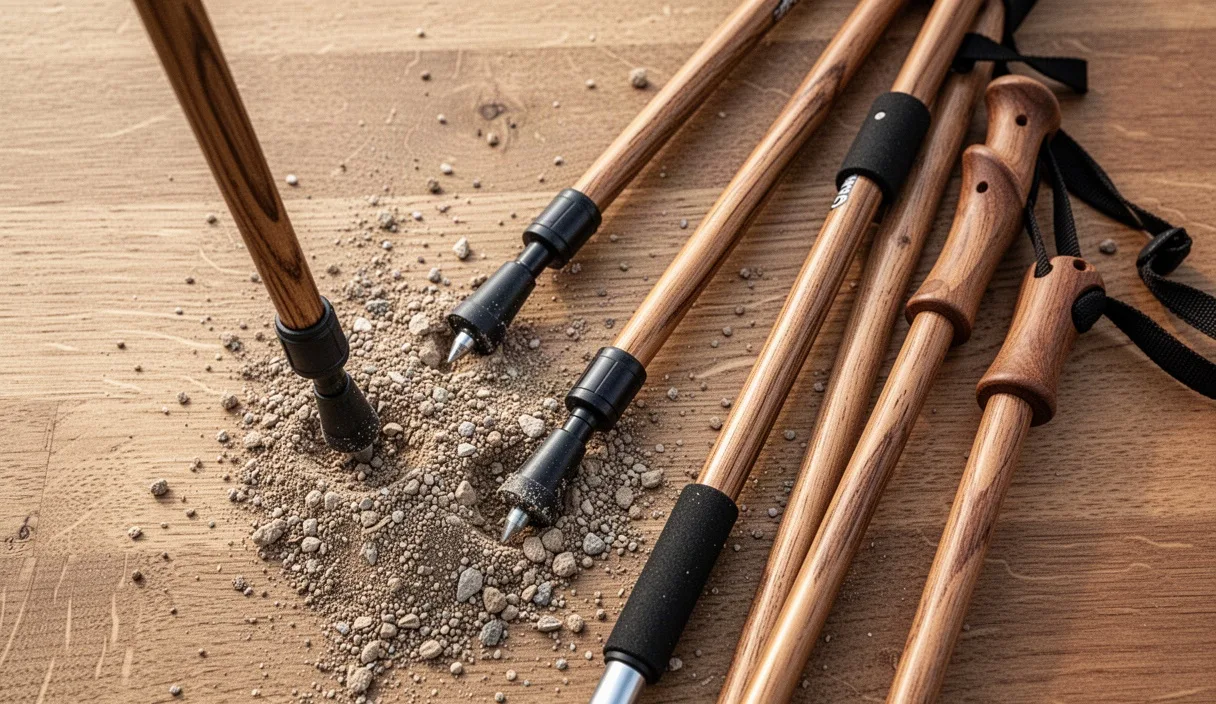
Nordic walking looks disarmingly simple until you strap the straps onto your wrists and try to move at a brisk pace. Many walkers start by carrying their poles upright like walking sticks, or they plant them too far ahead and turn their walk into an unintentional pole vault. The correct plant transforms two lightweight carbon shafts into levers that engage your core, take impact off your hips, and add meaningful propulsion to your stride.
Getting that plant right requires an understanding of your body alignment, basic geometry, and the way your hand interacts with the grip strap. Once the tip strikes the ground at the right spot, the rest of the movement flows naturally. Here is the technical breakdown of how to find your stance, set your pole angle, and plant with precision on every stride.
Finding Your Neutral Stance
Before moving a foot or swinging a pole, you need to establish a stable starting posture. Stand on level ground with your feet spaced directly under your hips, roughly 15 to 20 centimetres apart. Distribute your body weight evenly between the ball of your foot and your heel. Your knees should stay soft rather than locked backward, which allows your pelvis to sit in a neutral position without pitching your lower back into an exaggerated arch.
Lengthen your spine upward through the crown of your head, let your shoulder blades glide gently down toward your back pockets, and open your chest. If you carry tension in your upper traps from sitting at a computer, roll your shoulders backward three times and let your arms hang dead at your sides. Your arms should feel heavy, relaxed, and long.
From this standing alignment, test your balance by leaning forward from your ankles by two or three degrees. Do not bend at the waist. Think of this slight forward tilt as falling into your walk. This gentle forward lean prepares your center of mass to travel across your planted poles rather than fighting against them, setting up the foundation for every stride that follows.
Calculating Correct Pole Length
You cannot achieve an accurate pole plant if your equipment is too long or too short. A pole that is five centimetres too long forces your elbow to bend sharply and brings the plant too far forward, while a pole that is too short causes you to hunch over and collapse your chest. The standard baseline calculation multiplies your height in centimetres by 0.68. If you are 175 centimetres tall, the formula yields 119 centimetres, which rounds down to a 120-centimetre fixed pole or an adjustable setting of 119.
Formulas are useful starting points, but forearm angle is the true arbiter of fit. Strap into your poles, wear your usual walking shoes, and stand in your neutral stance with the poles held vertically next to your feet. Your elbows should bend at roughly a 90-degree angle, with your forearms parallel to the flat ground. If you have chronic neck or shoulder tightness, lowering the pole by two to three centimetres creates an elbow angle closer to 100 degrees, reducing strain on the rotator cuff. If you have significant joint limitations, consult a physical therapist before modifying your setup.
| Walker Height | Standard Formula (x 0.68) | Recommended Pole Setting | Elbow Angle Check |
|---|---|---|---|
| 160 cm | 108.8 cm | 110 cm | Forearm level with ground |
| 170 cm | 115.6 cm | 115 cm | Forearm level with ground |
| 180 cm | 122.4 cm | 120 cm to 125 cm | Forearm level or slightly downward |
| 190 cm | 129.2 cm | 130 cm | Forearm level or slightly downward |
If you use adjustable poles, ensure the locking cams or twist locks are fully secured before bearing weight. Put all your downward pressure onto the grips while standing still. If a shaft slips even two millimetres under static weight, clean the inner expansion mechanism or tighten the cam tension screw before heading out on the trail.
Setting the Forty-Five Degree Angle
The defining mechanical feature of Nordic walking is that the pole never points straight up and down during ground contact. The pole must plant at an acute angle of approximately 45 degrees relative to the ground surface, pointing backward behind you. Planting at this backward slope ensures that downward force translates into forward propulsion rather than upward braking.
To find this angle during movement, monitor where the tip touches the ground. The carbide tip or rubber asphalt paw should strike the ground opposite your trailing foot's heel or level with your back hip. It should never land ahead of your lead foot. If the pole lands in front of your lead toes, it acts as a walking stick, stopping your momentum and jolting your shoulder socket with every contact.
Keep your wrist straight and firm as the pole makes contact. The movement comes from the shoulder joint, swinging like a pendulum, while the elbow maintains a soft, slightly open curve of around 100 to 120 degrees during the plant. Visualise your arms swinging low, brushing past your hips, with the pole angled backward behind you at all times.
The Backward Push and Release
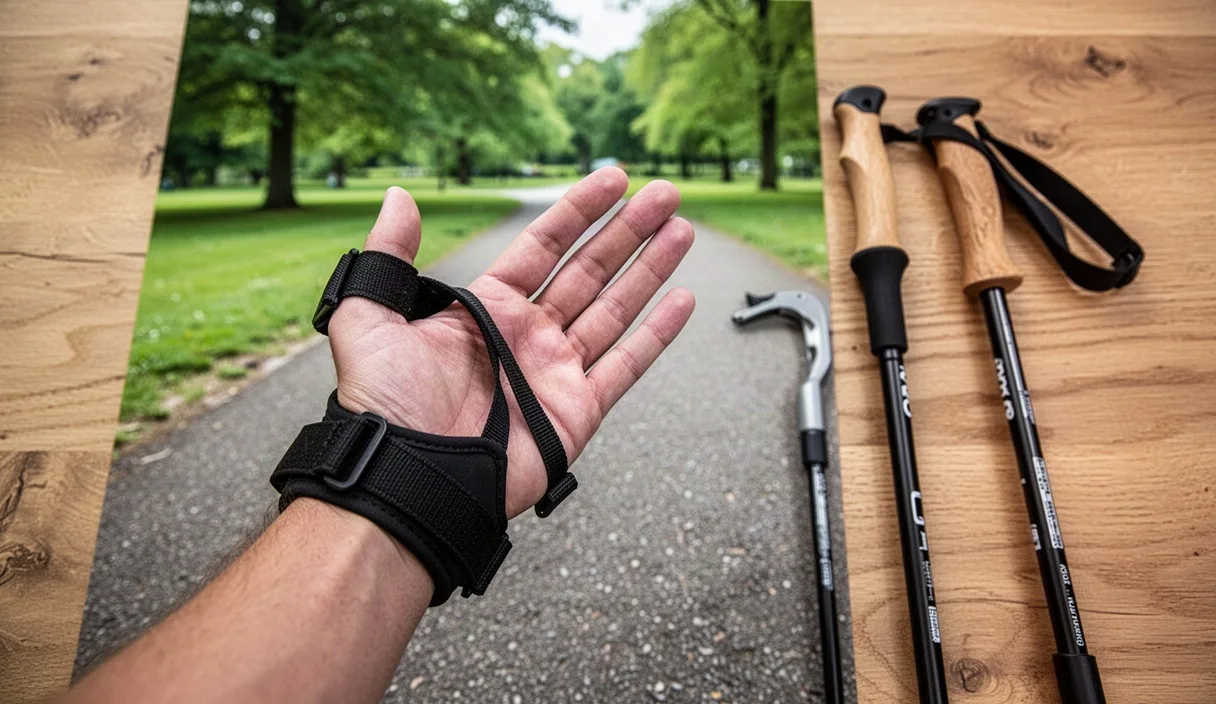
Planting the pole is only the setup; the push and release deliver the actual work. Once the pole tip strikes the ground, your hand should not strangle the grip. Nordic walking harnesses the wrist strap to transfer energy, allowing your fingers to relax and open.
Execute the push through these distinct mechanical actions:
- Initial Engagement: As the pole tip grips the asphalt or dirt, press the heel of your palm firmly down into the strap webbing rather than squeezing the rubber handle with your fingers.
- Propulsion Past the Hip: Drive your arm backward through the shoulder joint. As your hand reaches your hip, start opening your fingers away from the handle.
- Full Hand Release: Push the pole out behind you until your elbow extends nearly straight. Your fingers should open completely, pointing toward the ground or backward, trusting the strap to keep the pole anchored to your wrist.
- Forward Recovery: Once the push finishes, use the strap tension to snap the pole back forward. Let your fingers wrap lightly around the grip again just before the next plant.
This rhythm of grip, push, open, and catch pumps blood through your forearms and prevents hand fatigue. It also ensures that your triceps, latissimus dorsi, and posterior shoulder muscles execute the full propulsion phase, rather than leaving the work to your wrists.
Common Errors on Flat Pavements
Hard surfaces such as tarmac and concrete highlight technical faults quickly because the rubber pads slip when misapplied. The most frequent issue on pavement is dragging the poles. If you do not swing your arm forward with clear intention, the rubber tip will scrape along the street behind you instead of cleanly lifting and planting. This wears down the rubber within a couple of outings and provides zero propulsion.
Another common mistake on flat surfaces is using the incorrect orientation on your rubber pads. Nordic walking rubber paws are asymmetrical: they have an angled, treaded base that resembles a miniature boot. The toe of the boot must face backward, flat against the pavement when the pole is held at its 45-degree angle. If the boot points forward or twists sideways, it will skid across the road surface on impact, making an annoying squeaking noise and jarring your wrist.
Flat ground can also tempt walkers to overstride. When people try to walk faster with poles, they often reach their feet out too far ahead of their center of gravity, landing hard on an outstretched heel. Overstriding puts excessive stress on your knees and forces your poles to plant too far forward to compensate. Instead, keep your stride length natural and increase your foot turnover cadence. Let your pole push drive you forward across the ground rather than pulling yourself forward with your feet.
Common Mistakes
Even experienced walkers occasionally drift into habits that degrade their technique. Reviewing these mechanical errors helps identify hitches before they become ingrained movement patterns.
- Walking in mirror cadence: Stepping forward with the right foot while swinging the right arm forward at the exact same moment. Nordic walking uses natural cross-pattern movement: your left arm swings forward as your right heel strikes the ground. If you slip into same-side movement, let your arms hang loose for five paces while walking, then let the natural swing return on its own.
- The death grip: Clenching the rubber or cork handles tightly through the entire stride cycle. This leads to sore wrists, forearm pump, and tight shoulders. Your grip should close only during the initial plant and loosen completely as the pole passes your hip.
- Over-bending the elbow: Treating the pole like a bicep curl bar, flexing the forearm upward toward the shoulder on every forward swing. Keep the forward swing low, imagining you are offering a low handshake to someone standing in front of you.
- Planting vertically ahead of the body: Striking the ground in front of the forward foot. This turns your poles into brakes and increases impact through the shoulder girdle.
Practical Next Steps for Practice
Mastering a clean pole plant requires repetitive practice in controlled conditions rather than logging high mileage right away. Reserve twenty minutes on a flat, quiet stretch of path or park turf where you can focus entirely on your upper body mechanics without having to dodge heavy foot traffic.
- Start by dragging the poles: Clip into your straps and begin walking with your arms hanging loosely by your sides. Do not hold the grips; simply walk naturally. The poles will trail behind you at an angle, sliding along the ground. Notice how the poles naturally angle backward without any effort from you.
- Introduce the gentle plant: After two minutes of dragging, gently close your hands around the grips and match the swing of your arms to your natural leg cadence. Focus on planting the tip only when the arm is swinging backward, contacting the ground behind your front foot.
- Integrate the backward release: Once your plant location is consistent, begin pushing through the strap and opening your hand as the grip passes your hip. Listen for a clean, single tap of the pole tip against the ground with each stride.
- Build duration incrementally: Walk with focused technique for ten minutes, rest for two minutes, and repeat for another ten. Stop if you notice your shoulders hiking up toward your ears. Quality of movement matters far more than distance when retraining your gait.
Practicing these drills twice a week will build the muscle memory required for clean, efficient pole plants. If you experience persistent shoulder, elbow, or lower back pain that does not resolve with adjustments to pole length or posture, stop your sessions and consult a sports physical therapist or an accredited Nordic walking instructor for an in-person gait assessment.